Storing images with Spring Boot and AWS S3
Hello everyone! In this interesting article we will discuss about how to store images with usage of AWS S3 and Spring Boot. An idea for create such article came from my last task, which I performed while working on the Baloney project. Then I used AWS S3 for the first time, but I made it work. Here I will show you a very simplified solution of my task, but if you familiarize with it, it will give you basics nedeed to explore more about AWS S3.
What is AWS S3?
Amazon S3, which is abbreviation of Amazon Simple Storage Service is simply an object storage service. It offers industry-leading scalability, data availability, security, and performance. Millions of customers of all sizes and industries store, manage, analyze, and protect any amount of data for virtually any use case, such as data lakes, cloud-native applications, and mobile apps. With cost-effective storage classes and easy-to-use management features, you can optimize costs, organize and analyze data, and configure fine-tuned access controls to meet specific business and compliance requirements.
What will we use?
- Spring Boot
- AWS S3
- Maven
- Secrets
- Postman
Requirements
- Surely, you must have AWS account to start using S3. To create AWS account you need to prepare your credit card and enter in one of registration steps.
- You should have generated Spring Boot project downloaded to your computer.
Configure AWS S3
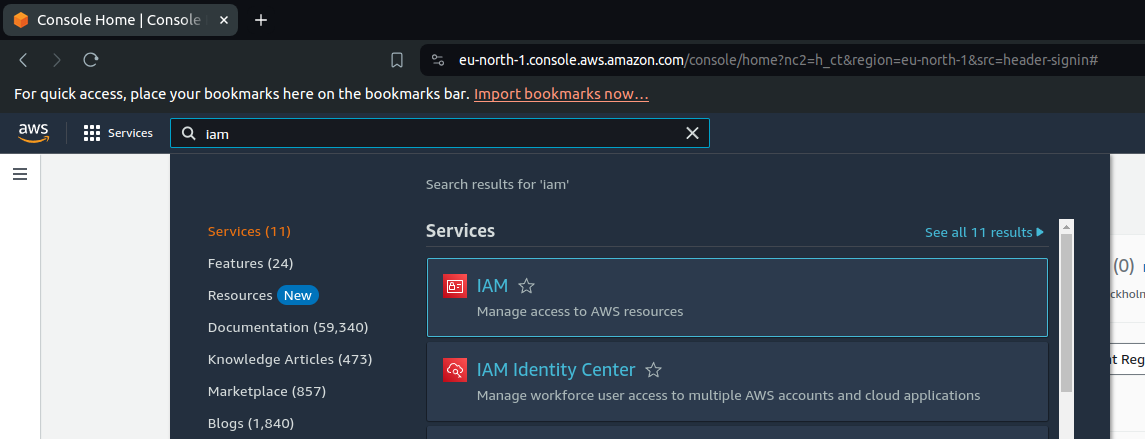
If you are logged to your AWS account, we can take the first step! Now, in the search engine in the upper left corner type IAM and enter this service ->
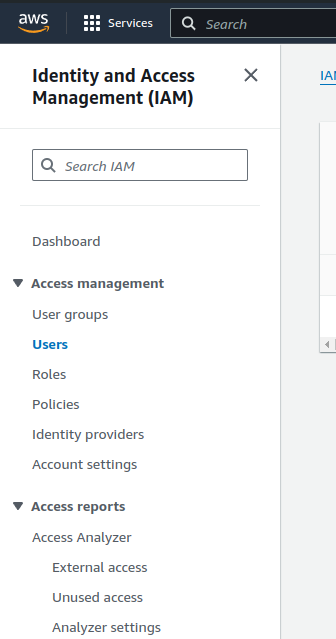
Then enter Users bookmark on the left ->
Click into Create user ->
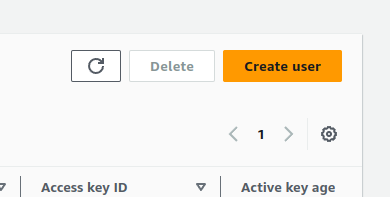
Now you should enter username for new user and then click Next ->
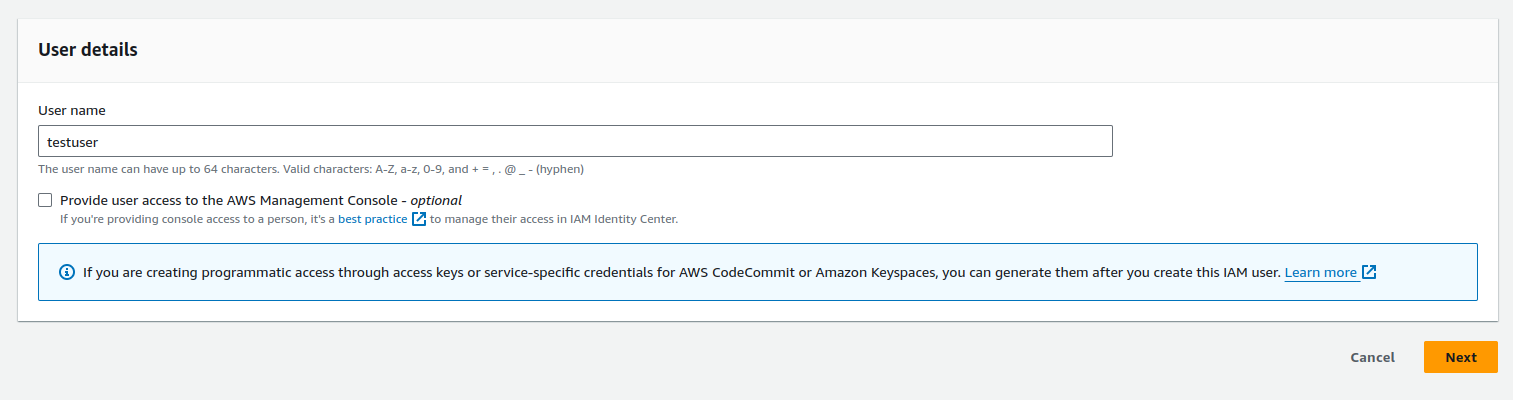
Then keep default options in all next steps and finally create user. If user is created you should see it in Users table. Now click into username. You should see this screen ->
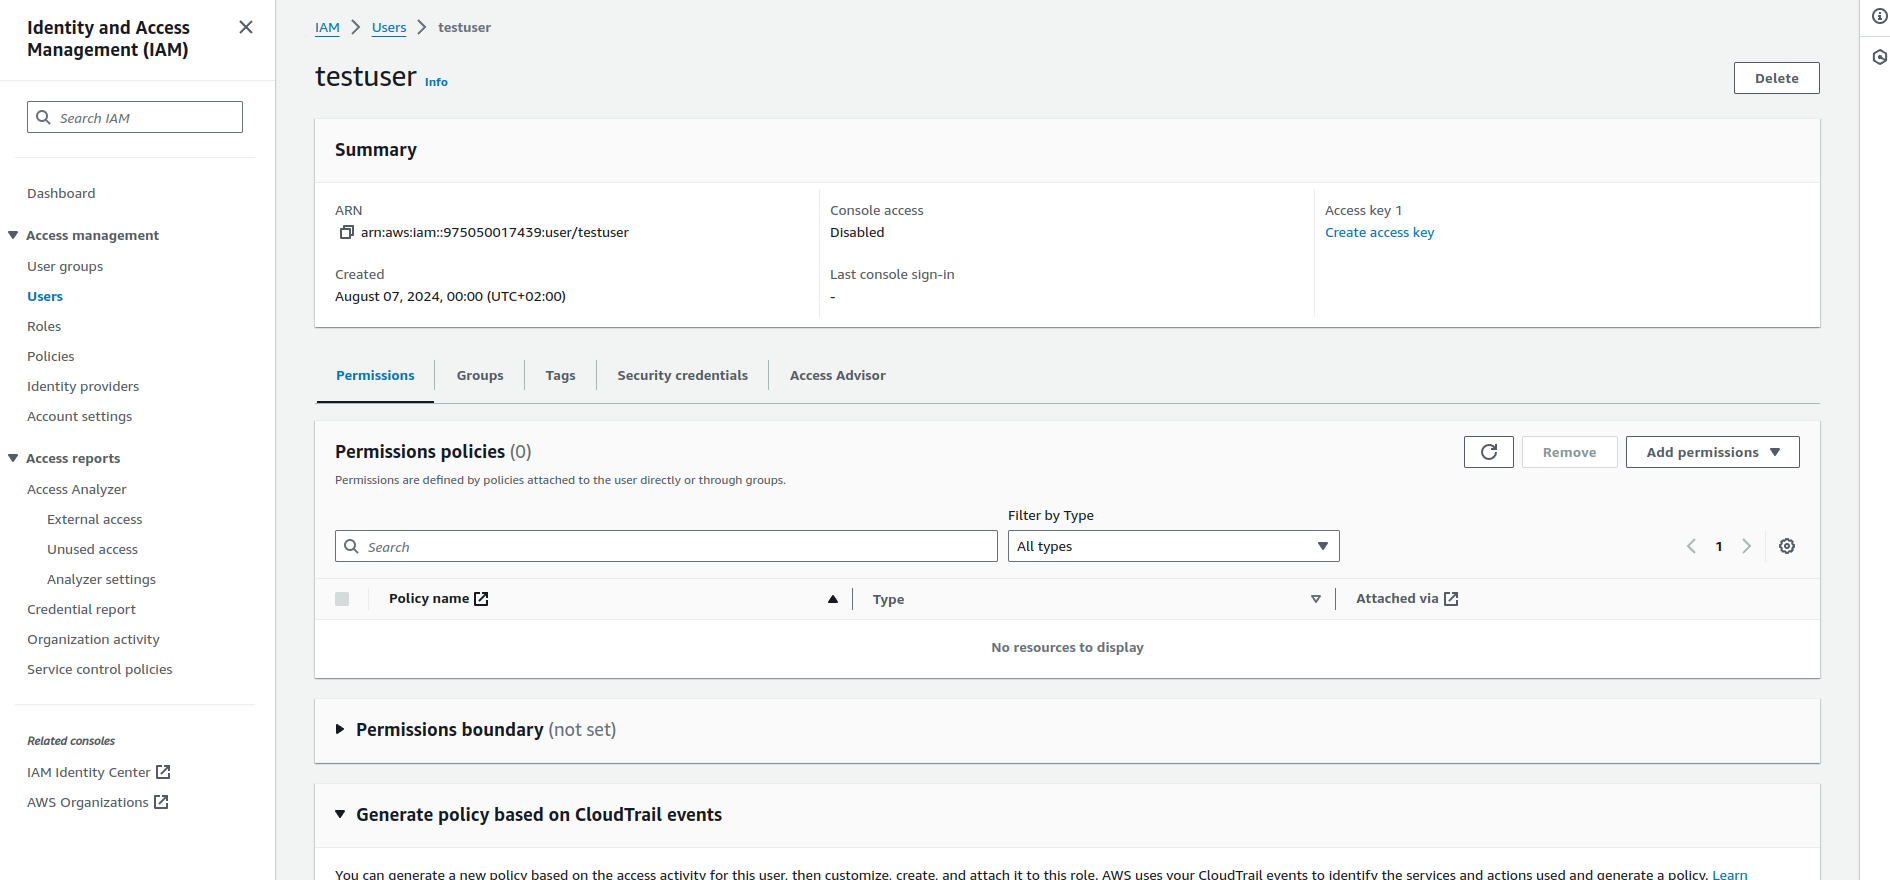
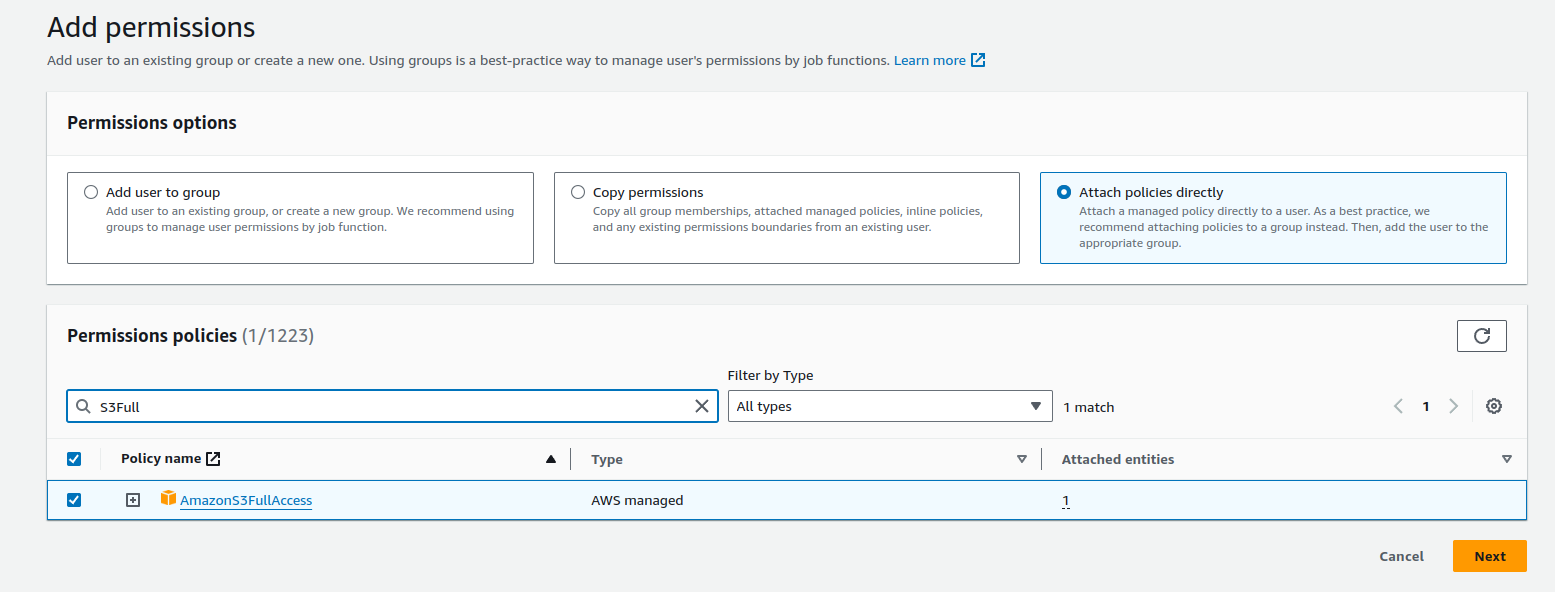
Then in Permissions policies area click Add permissions and on the new screen, in the Permissions options check Attach policies directly. Search "AmazonS3FullAccess" policy, check it and click Next -> Add permission ->
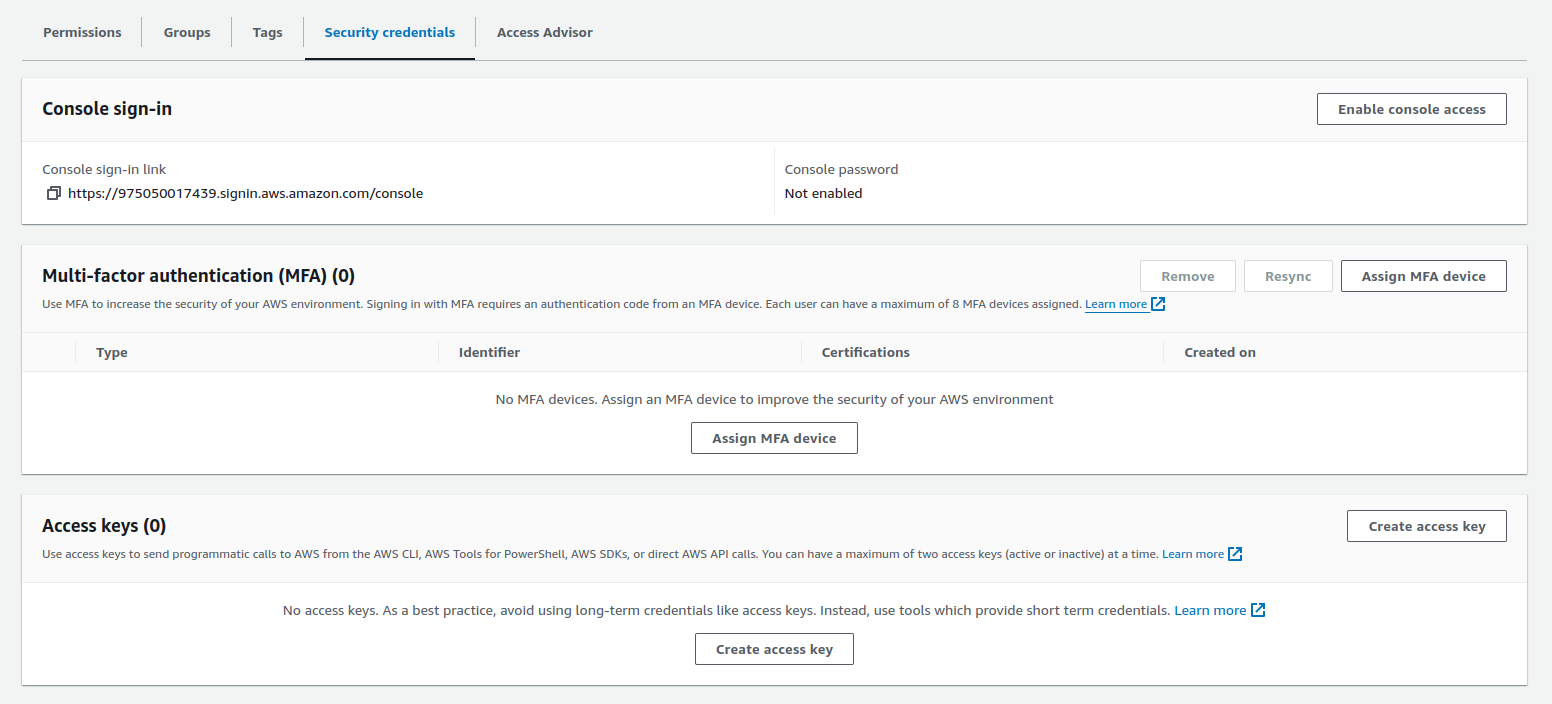
Now you should enter Security credentials bookmark and find Access keys area. In this area click Create access key ->
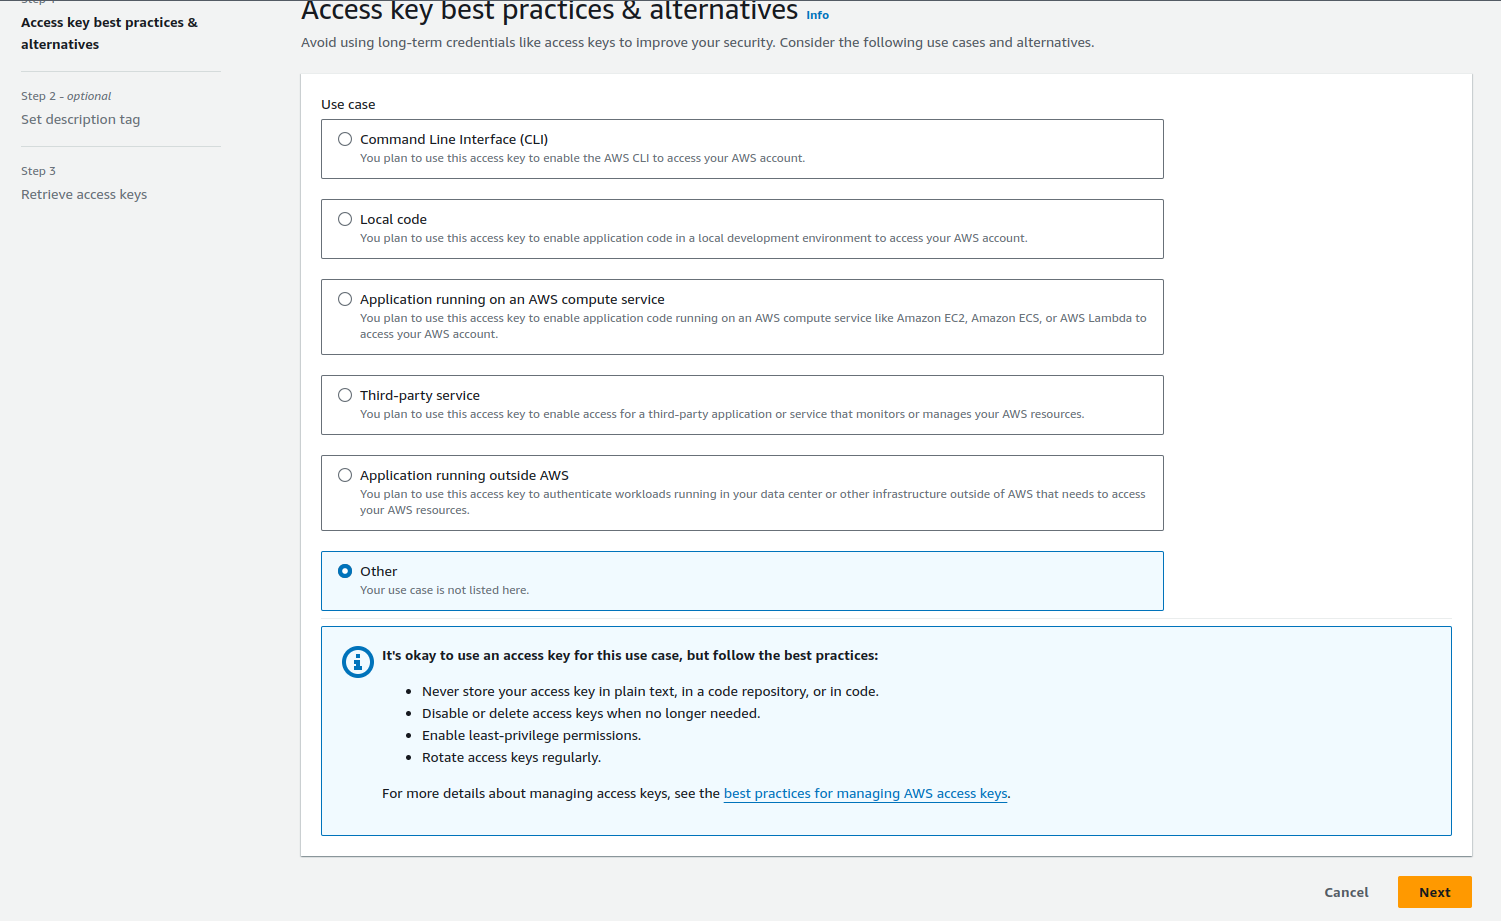
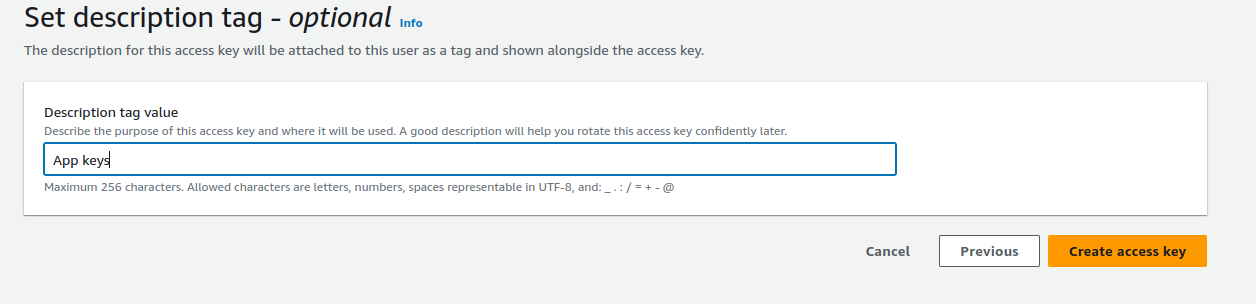
Follow the steps presented in the screenshots ->
Congratulations! You already generated access key and secret key, which are really significant to connect app with S3. Save them for later purposes. Remember, that this is the only time that the secret access key can be viewed. You cannot recover it later. However, you can create a new access key any time. If you have keys we can start create our place to store images.
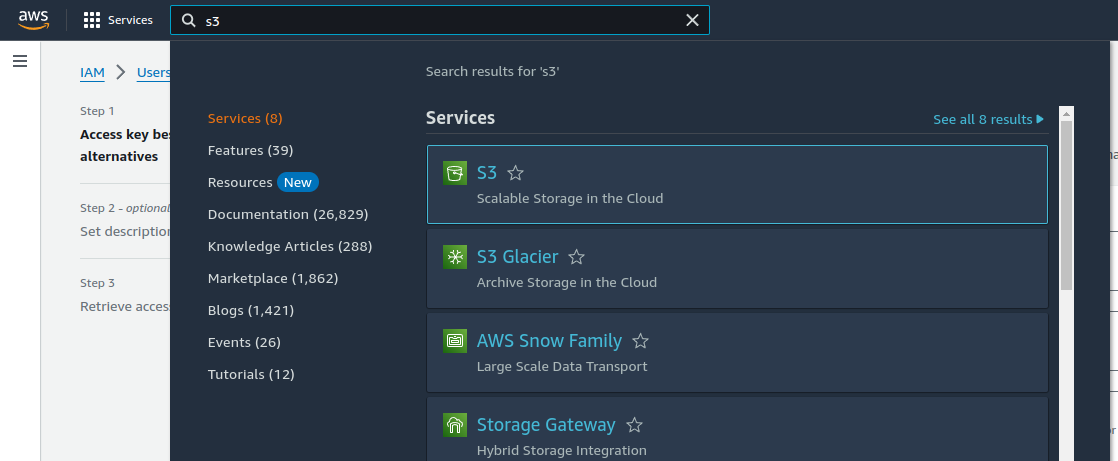
Search S3 and enter first service ->
Click Create bucket->
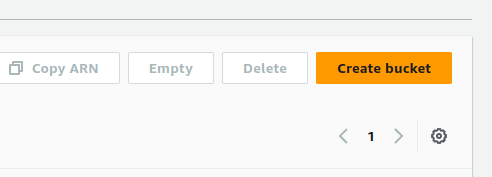
Now enter only bucket name, keep all settings default and click Create bucket.
Maven
I prepared very simple Spring Boot app for this purpose. In Spring Initializr I didn't change anything except Java version (from 22 to 21).
Firstly add these dependencies (if you don't have them yet) to your pom.xml file and reload Maven. Make sure that AWS SDK dependency is in the newest version.
<dependency>
	<groupId>com.amazonaws</groupId>
	<artifactId>aws-java-sdk-s3</artifactId>
	<version>1.12.767</version>
</dependency>

<dependency>
        <groupId>org.springframework.boot</groupId>
        <artifactId>spring-boot-starter-web</artifactId>
</dependency>
Secrets
Next step is to add to our application access and secret keys generated previously as secrets. What are secrets? Secrets refers to sensitive data such as passwords, API keys, certificates, database credentials, etc. The goal is to store and access this data securely to prevent accidental disclosure or unauthorized access. In this case - imagine, that you have your project on GitHub. You don't want to share our access and secret key in public repo. So to prevent It we will use secrets.
There are many ways to store sensitive data as secrets, but I would like to show you probably simplest for beginners (with CLI arguments).
- Open your project in IntelliJ
- Main menu in the upper left corner -> Run -> Edit Configurations
- In Run/Debug Configurations window, in Build and run area click Modify options -> Check Program arguments in Java category
- In new text field enter arguments like on the following screen
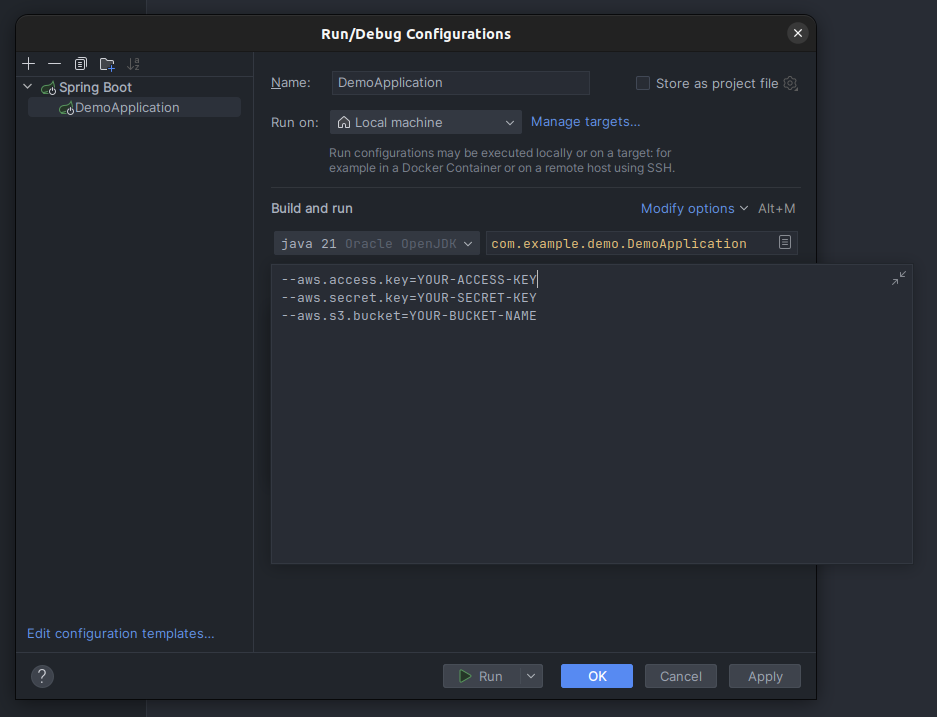
- Click Apply -> OK
Congratulations! Secrets are configured and now you can access them in your code without sharing their value in public repo.
App
All you have to do is add S3Controller, S3Service and S3Config classes. You can find whole code below.
S3Config.java
@Configuration
public class S3Config {

    @Value("${aws.access.key}")
    private String awsAccessKey;

    @Value("${aws.secret.key}")
    private String awsSecretKey;

    @Bean
    public AmazonS3 s3client() {

        BasicAWSCredentials awsCredentials = new BasicAWSCredentials(awsAccessKey, awsSecretKey);

        return AmazonS3ClientBuilder.standard()
                .withCredentials(new AWSStaticCredentialsProvider(awsCredentials))
                .withRegion(Regions.EU_NORTH_1) // it depends on your AWS region
                .build();
    }
}
S3Service.java
@Service
public class S3Service {

    private static final List<String> ALLOWED_EXTENSIONS = List.of("jpg", "jpeg", "png", "gif", "webp");

    private final AmazonS3 s3client;

    @Value("${aws.s3.bucket}")
    private String bucketName;

    public S3Service(AmazonS3 s3client) {
        this.s3client = s3client;
    }

    public void uploadFile(MultipartFile file) throws IOException {
        if (!isImage(file)) {
            throw new IllegalArgumentException("File is not a valid image type");
        }

        s3client.putObject(bucketName, file.getOriginalFilename(), file.getInputStream(), null);
    }

    private boolean isImage(MultipartFile file) {
        String extension = getFileExtension(file.getOriginalFilename());

        return ALLOWED_EXTENSIONS.contains(extension.toLowerCase());
    }

    private String getFileExtension(String filename) {
        if (filename == null || filename.isEmpty()) {
            return "";
        }

        int dotIndex = filename.lastIndexOf('.');
        return (dotIndex == -1) ? "" : filename.substring(dotIndex + 1);
    }

    public S3Object getFile(String keyName) {
        return s3client.getObject(bucketName, keyName);
    }
}
S3Controller.java
@RestController
@RequestMapping("/api/v1")
public class S3Controller {

    private final S3Service s3Service;

    public S3Controller(S3Service s3Service) {
        this.s3Service = s3Service;
    }

    @PostMapping("/upload")
    public ResponseEntity<?> uploadFile(
            @RequestParam("file") MultipartFile file
    ) throws IOException {
        try {
            s3Service.uploadFile(file);
        } catch (IllegalArgumentException e) {
            return ResponseEntity.status(HttpStatus.BAD_REQUEST).body(Map.of(
                    "status", HttpStatus.BAD_REQUEST.value(),
                    "message", "You can't upload this file"
            ));
        }

        return ResponseEntity.ok(Map.of(
                "status", HttpStatus.OK.value(),
                "message", "File uploaded successfully"
        ));
    }

    @GetMapping("/view/{fileName}")
    public ResponseEntity<InputStreamResource> viewFile(
            @PathVariable String fileName
    ) {
        S3Object s3Object = s3Service.getFile(fileName);
        S3ObjectInputStream content = s3Object.getObjectContent();

        return ResponseEntity.ok()
                .contentType(MediaType.IMAGE_PNG)
                .header(HttpHeaders.CONTENT_DISPOSITION, "inline; filename=\""+fileName+"\"")
                .body(new InputStreamResource(content));
    }
}
Optionally you can specify max. size of file in application.properties
spring.servlet.multipart.max-file-size=5MB
Usage
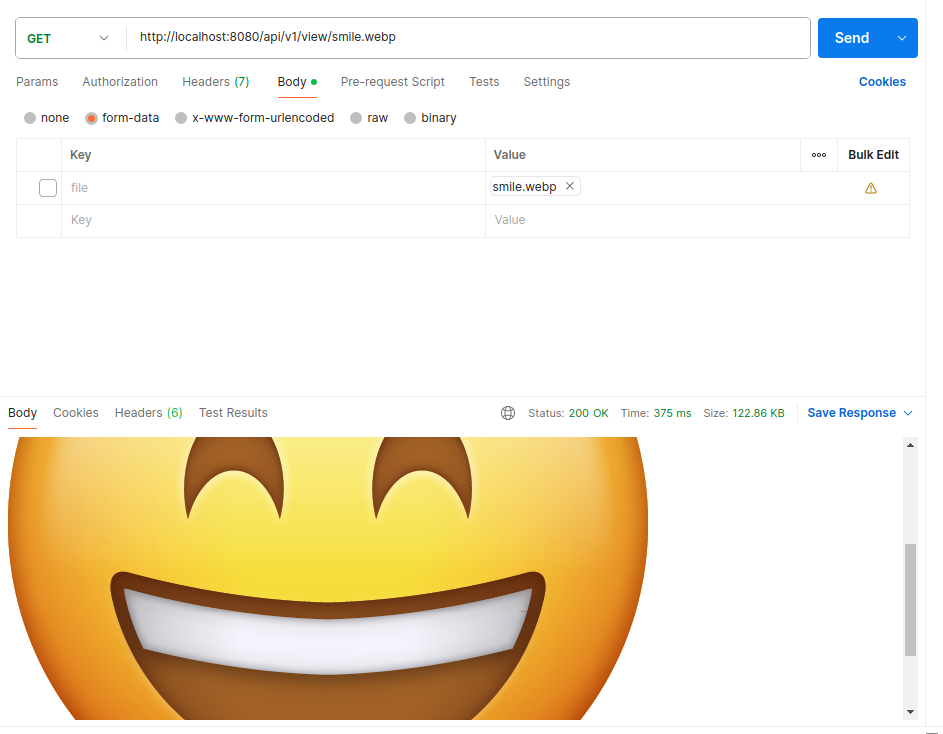
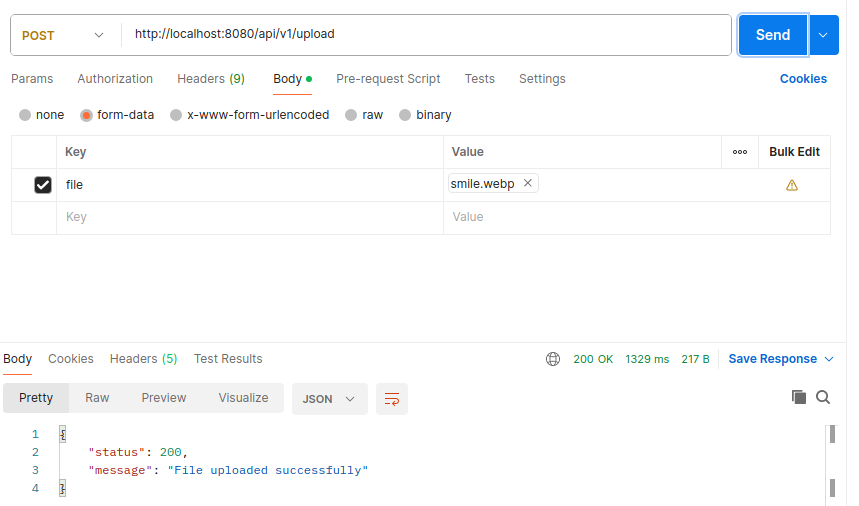
Now we can test our app with usage of Postman. Below you can find cases tested by me
Trying to upload file with extension other than .jpg, .jpeg, .png, .gif and .webp

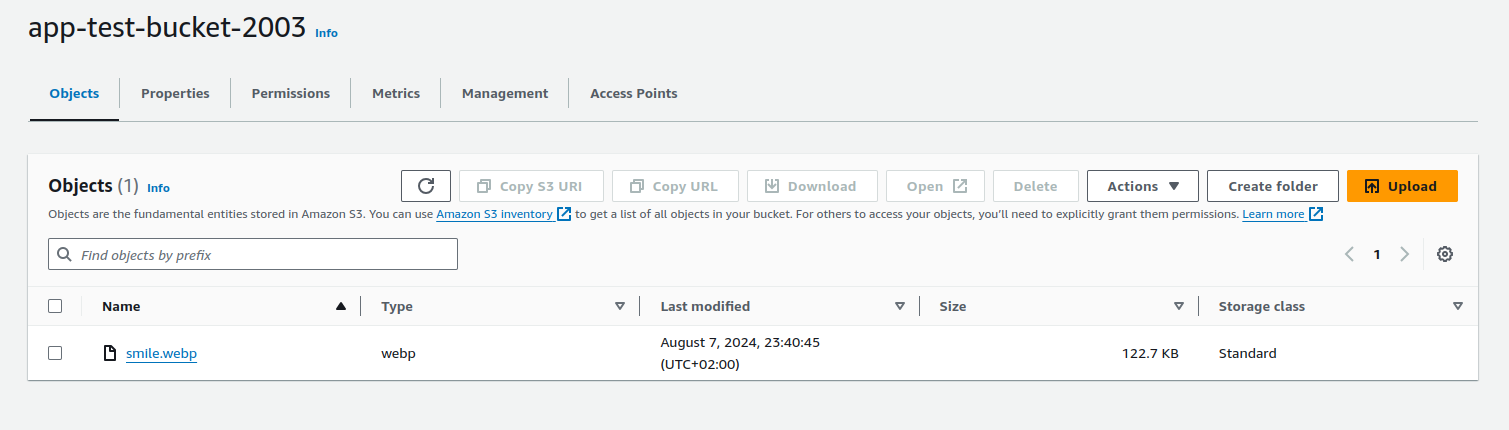
Trying to upload file with .webp extension
Trying to view smile.webp uploaded earlier